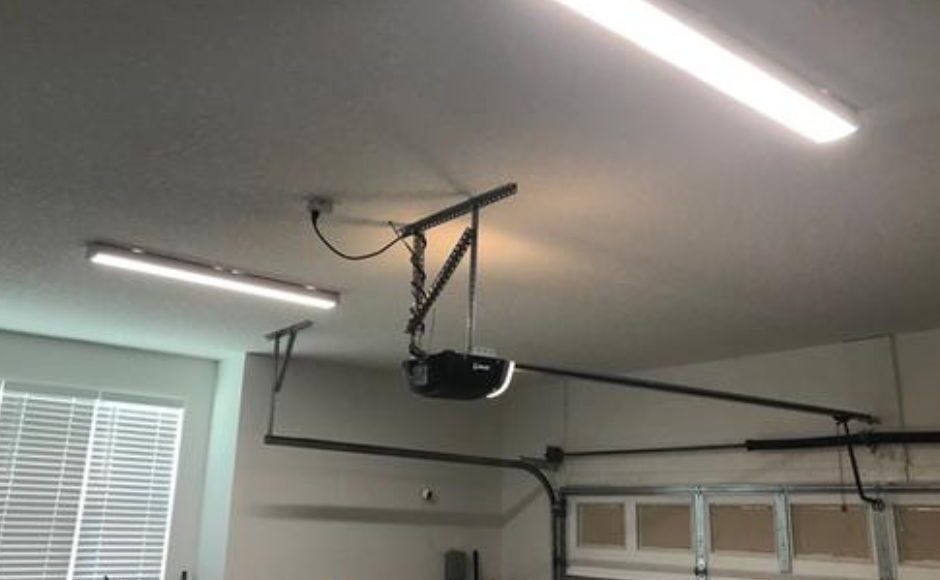
How to Install Lithonia LED Lighting: The Ultimate Guide
When it comes to dependable and versatile lighting solutions, Lithonia Lighting stands out as a top choice for homeowners, business owners, and contractors alike. Known for their durability, energy efficiency, and sleek designs, Lithonia lights are a fantastic way to brighten up your spaces. But how do you install Lithonia LED lighting, exit lights, or spotlights? In this guide, we’ll take you through step-by-step instructions and offer tips on installing various types of Lithonia fixtures.
And remember, if you’re in need of specialty Lithonia lighting products, Parker Lighting has you covered. Call us today at (310) 674-8193 to get the products you need!
What Is Lithonia Lighting?
Lithonia Lighting is a leading brand in the lighting industry, offering a wide array of fixtures for residential, commercial, and industrial use. From LED panels to spotlights, and from exit lights to wafer-thin recessed lights like the Lithonia WF4 series, their products combine innovation with practicality. Whether you’re upgrading your home lighting or equipping a commercial building, Lithonia provides solutions that are both stylish and functional.
At Parker Lighting, we specialize in hard-to-find Lithonia lighting products that will elevate your project.
How to Install Lithonia LED Lighting
Lithonia LED lights are designed for straightforward installation, making them an ideal choice for DIY enthusiasts and professionals. Here’s a step-by-step guide:
- Disconnect the Power Supply: Before beginning, make sure that the circuit breaker is off so electricity is not flowing to the place where the light fixture is being installed.
- Choose the Right Fixture: Decide where you want to place the LED light and ensure the location has proper wiring.
- Prepare the Wiring: Connect the wires attached to the Lithonia LED fixture to the existing wiring in your home or building. Match the wire colors where the black wire is connected to the black wire (hot), white wire to white wire (neutral), and green or bare copper to ground.
- Make sure the Fixture is Secure: Use screws or mounting brackets (provided with the light) to secure the fixture to the ceiling or wall.
- Turn the Power Back On: Flip the circuit breaker and test your new light!
Need help choosing the right Lithonia LED product? Call Parker Lighting at (310) 674-8193 for expert assistance.
How to Install Lithonia Exit Lights
Lithonia exit lights are a crucial safety feature in commercial spaces. Here’s how to install them:
- Locate the Power Source: Choose an accessible location near an emergency power source or battery backup.
- Install the Mounting Bracket: Attach the mounting bracket securely to the wall or ceiling.
- Wire the Exit Light: Connect the fixture’s wires to the building’s electrical system, ensuring compatibility with the emergency power supply.
- Attach the Light Housing: Once the wiring is complete, secure the exit light’s housing to the bracket.
- Test the Light: Activate the emergency mode to ensure proper functionality.
For specialty Lithonia exit lights, call Parker Lighting at (310) 674-8193.
How to Install Lithonia WF4 Lights
The Lithonia WF4 lights are ultra-thin recessed LED fixtures, perfect for modern designs. Follow these steps to install them:
- Cut the Ceiling Hole: Using the template provided, cut a precise hole in the ceiling.
- Connect the Driver Box: Wire the driver box to your electrical system.
- Attach the Fixture: Connect the WF4 light to the driver box and push it into the ceiling opening. The spring clips will hold it securely in place.
- Power On: Test your new lighting for a sleek, bright finish.
Looking for Lithonia WF4 lights? Contact Parker Lighting today!
How to Install Lithonia Lighting Spotlight Halogen Fixtures
Halogen spotlights from Lithonia Lighting are perfect for highlighting specific areas or creating dramatic effects. Here’s how to install them:
- Choose the Right Spot: Select a location that aligns with your lighting goals.
- Install the Mount: Secure the spotlight mount to the wall or ceiling.
- Wire the Spotlight: Connect the halogen spotlight’s wires to your home’s electrical system. Ensure proper insulation to prevent short circuits.
- Adjust the Beam: Once installed, position the spotlight for the desired lighting angle.
- Test the Fixture: Switch it on to enjoy the warm, focused glow.
For a variety of Lithonia spotlights, Parker Lighting has you covered.
Why Choose Parker Lighting for Your Lithonia Lighting Needs?
At Parker Lighting, we take pride in offering a wide selection of specialty Lithonia lighting products, including hard-to-find fixtures. Whether you’re searching for LED lights, exit signs, or spotlight halogen fixtures, we have what you need in stock.
Our expert team is ready to help you find the perfect lighting solution for your space. Don’t wait—call Parker Lighting today at (310) 674-8193 to place your order or get expert advice.
Conclusion
Installing Lithonia lighting doesn’t have to be complicated. Whether you’re working with LED panels, exit lights, WF4 recessed lights, or halogen spotlights, following these step-by-step instructions will ensure success. And when you need specialty lighting products, there’s no better place than Parker Lighting.
Call us at (310) 674-8193 to learn more or visit us in-store to explore our unmatched selection of Lithonia lighting solutions.

